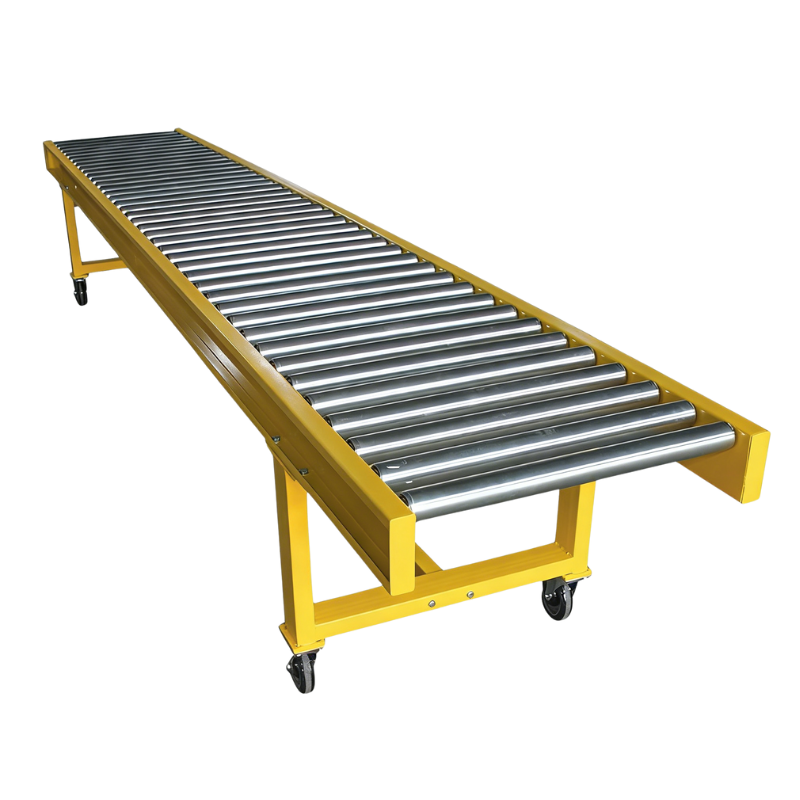
The modular roller conveyor system is changing how materials get moved around warehouses and factories because they let workers install and adjust them themselves without needing special tech support. What makes these systems work so well are the standard parts everyone can swap out easily the frames, those rolling bits, and all the connecting pieces. Putting it together takes nothing fancy just some simple hand tools most people already have lying around. Traditional conveyors made from welds are totally different story though. Those things need custom building which takes forever. With modular setups, companies can expand operations or rearrange their space within hours instead of waiting days for everything to come together.
Key advantages driving DIY adoption include:
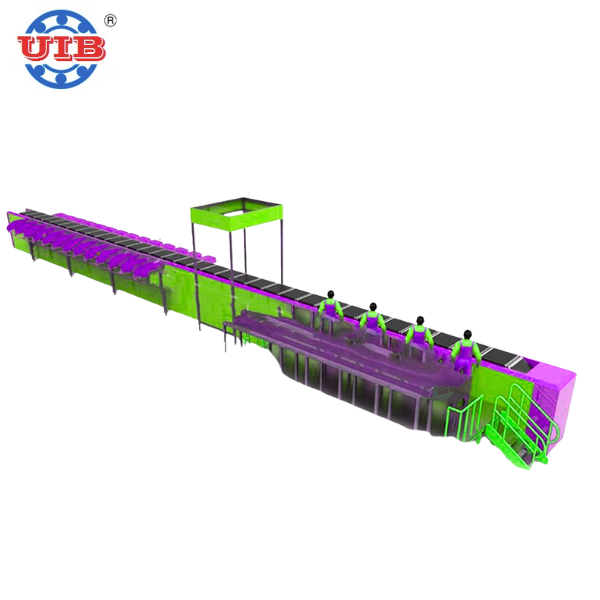
This design transforms conveyors from fixed infrastructure into flexible assets that scale with operational needs. Manufacturers report 60% faster assembly versus traditional systems, making modular roller conveyors a smart choice for warehouses, distribution centers, and production lines requiring agility.
Prepare a hazard-free workspace by clearing a perimeter at least 1.5 times the conveyor length to allow full mobility. Ensure the floor is level within a tolerance of ±3mm/m² and that overhead clearance exceeds the tallest component by 0.5 meters. Implement critical safety measures:
Verify all components against the digital manifest before beginning assembly. Key checks include:
Essential tools include calibrated torque wrenches (±2% accuracy), laser levels, and anti-static mats. Missing or damaged parts account for 42% of DIY assembly failures—test each roller’s spin resistance prior to installation. Proper validation reduces post-build adjustments by up to 70%.
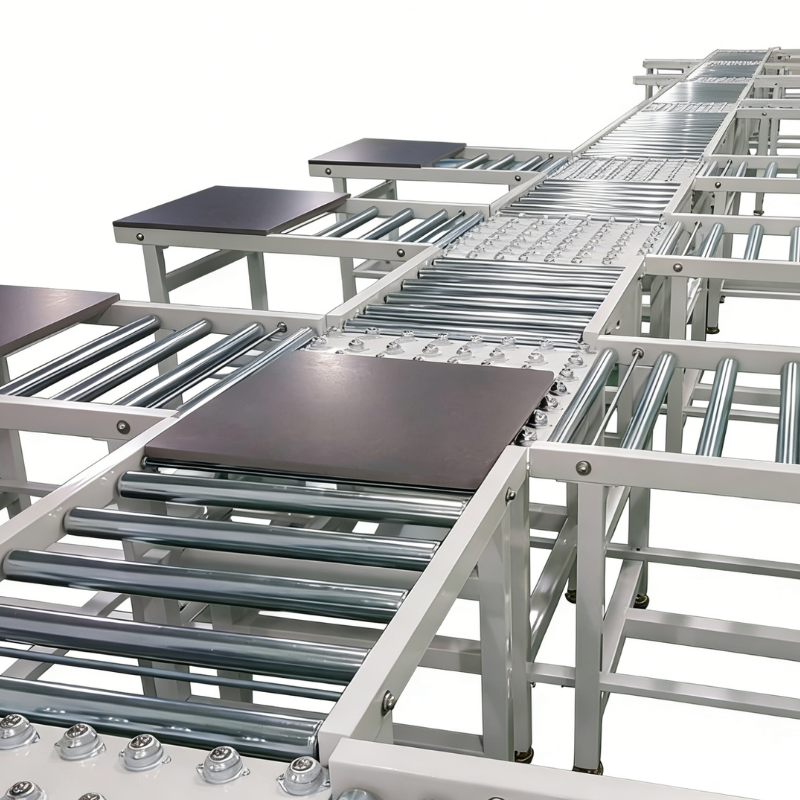
Put all those frame pieces down on something flat first. When attaching the legs, make sure they connect at right angles using a good old carpenter's square for accuracy. Start by tightening the bolts just by hand, don't go crazy yet. After that, give them the proper torque as specified by whoever made the equipment, usually around 25 to 30 Newton meters. We've seen time and again how badly aligned frames can mess things up later on, actually accounting for about three quarters of all problems during operation according to industry folks who track these things. Before moving forward, check that all four legs sit evenly high across the floor. A decent laser level works wonders here, trust me after working through enough setups where one leg was always slightly off.
Rollers should go into those pre-cut slots every three inches or so, which is pretty much industry standard for moving boxes around. Leave about an eighth of an inch space between where the roller ends meet the frame sides. This little bit of clearance keeps things from getting stuck during operation. When working on motor driven setups, make sure those drive shafts line up properly with their corresponding sprockets first before cranking down those set screws. Otherwise the whole system might not run smoothly later on. If testing shows that rollers bend more than 1/16 inch when loaded, it's time to bring out some spacer shims to correct the alignment issues. Getting these measurements right makes a real difference in efficiency too. Studies indicate that proper installation can cut down power usage anywhere from 15% to almost 20%, depending on how well everything fits together.
Monitor for abnormal vibrations or noise—common signs of roller misalignment. Re-torque all fasteners after 48 hours of operation to account for material settling.
Run empty tests after assembly to detect alignment issues. Uneven roller rotation or product veering indicates misalignment. For minor corrections, loosen mounting bolts and realign rollers perpendicular to the frame using laser tools or straightedges. Address roller drag by:
Persistent drag often results from improper tensioning. A 2mm misalignment can increase energy consumption by 15% and accelerate component wear.
Test the system under maximum load to assess weight distribution. Inconsistent product flow may stem from:
Adjust roller spacing based on product dimensions—narrower gaps prevent jams for small items. For stable throughput, gradually increase speed while observing accumulation zones. Ensure drive units deliver consistent torque, especially when handling irregularly shaped loads.
 Hot News
UIB Xiamen is a 10-year factory supplying custom conveyor, sorting machine, forklift & material handling machinery for logistics, cold chain & manufacturing. Free customized solution available.
Room 1409, SM International Center, Xingshan Road, Huli District, Xiamen City, Fujian Province, China.
Copyright © 2025 by UIB (Xiamen) Bearing Co., Ltd. Privacy Policy